
You can build a real seating chart for your venue in one sitting. Draw the room, label the sections and rows, set your price tiers, and start selling assigned seats that same day. This guide walks you through the whole thing, start to finish, inside a drag-and-drop venue designer. We'll lay out the floor, drop in seats and tables, mix reserved seating with general admission, and push the finished seat map live so buyers can pick exactly where they want to sit. No CAD software. No spreadsheet full of seat numbers. No developer.
What a seating chart actually needs
A seating chart for ticketing is way more than a picture of your room. It has to pull off four things at once. It shows buyers a map of your real venue layout. It ties every seat to a price. It holds a seat the second someone clicks it. And it matches what your staff see at the door. Nail those four and you'll sell more per show, with no risk of overbooking a section.

Most rooms come down to the same handful of building blocks. You've got sections (orchestra, balcony, mezzanine), rows inside each section, individual numbered seats, tables for galas and cabaret nights, and GA areas where folks stand or sit wherever they like. A good seat-map designer hands you all of these as drag-and-drop pieces. So your on-screen chart actually mirrors your floor instead of just sort of resembling it.
Step 1: Map your venue layout
Start with the shape of the room. Drop the stage (or whatever the focal point is) first, since that's what every buyer orients around. Then block out the big sections around it. Work from big to small. Get the orchestra and balcony sorted before you fuss over individual seat numbers. When you nail the overall geometry early, the detail work later just clicks into place.
Use your real floor plan as the truth. If a section angles toward the stage, build that in. If a row is shorter on one side, build that in too. The seating chart your buyers see should match the sightlines they'll actually get. Accurate maps mean fewer headaches on the day and a lot less of that "wait, this isn't the seat I thought I picked" grumbling.
Step 2: Add rows, seats, and tables
Once your sections are down, start filling them. Add rows to each section, then number the seats in each row the way your venue already does it. A1 through A20, then B1, and so on. Be consistent here. If the sign in your room says Row F, your chart should say Row F too. That way ushers and attendees are speaking the same language.
Running a gala, a banquet, or a cabaret show? Swap the rows for tables. Drop a table on the floor, set how many seats go around it, and sell the table whole or one seat at a time. Mixed rooms are pretty common. Think of a theater with a few VIP tables down front and regular rows behind them. The designer handles both on a single seating chart, so you're not jamming everything into one mold.
Step 3: Set price tiers across the map
A flat-priced room leaves money sitting right there on the floor. The whole point of reserved seating is that location is part of what people pay for. So group your seats into price tiers and color them on the map. Premium down front, standard in the middle, value seats up top. Buyers see the tiers in a glance and pick the price that works for them.
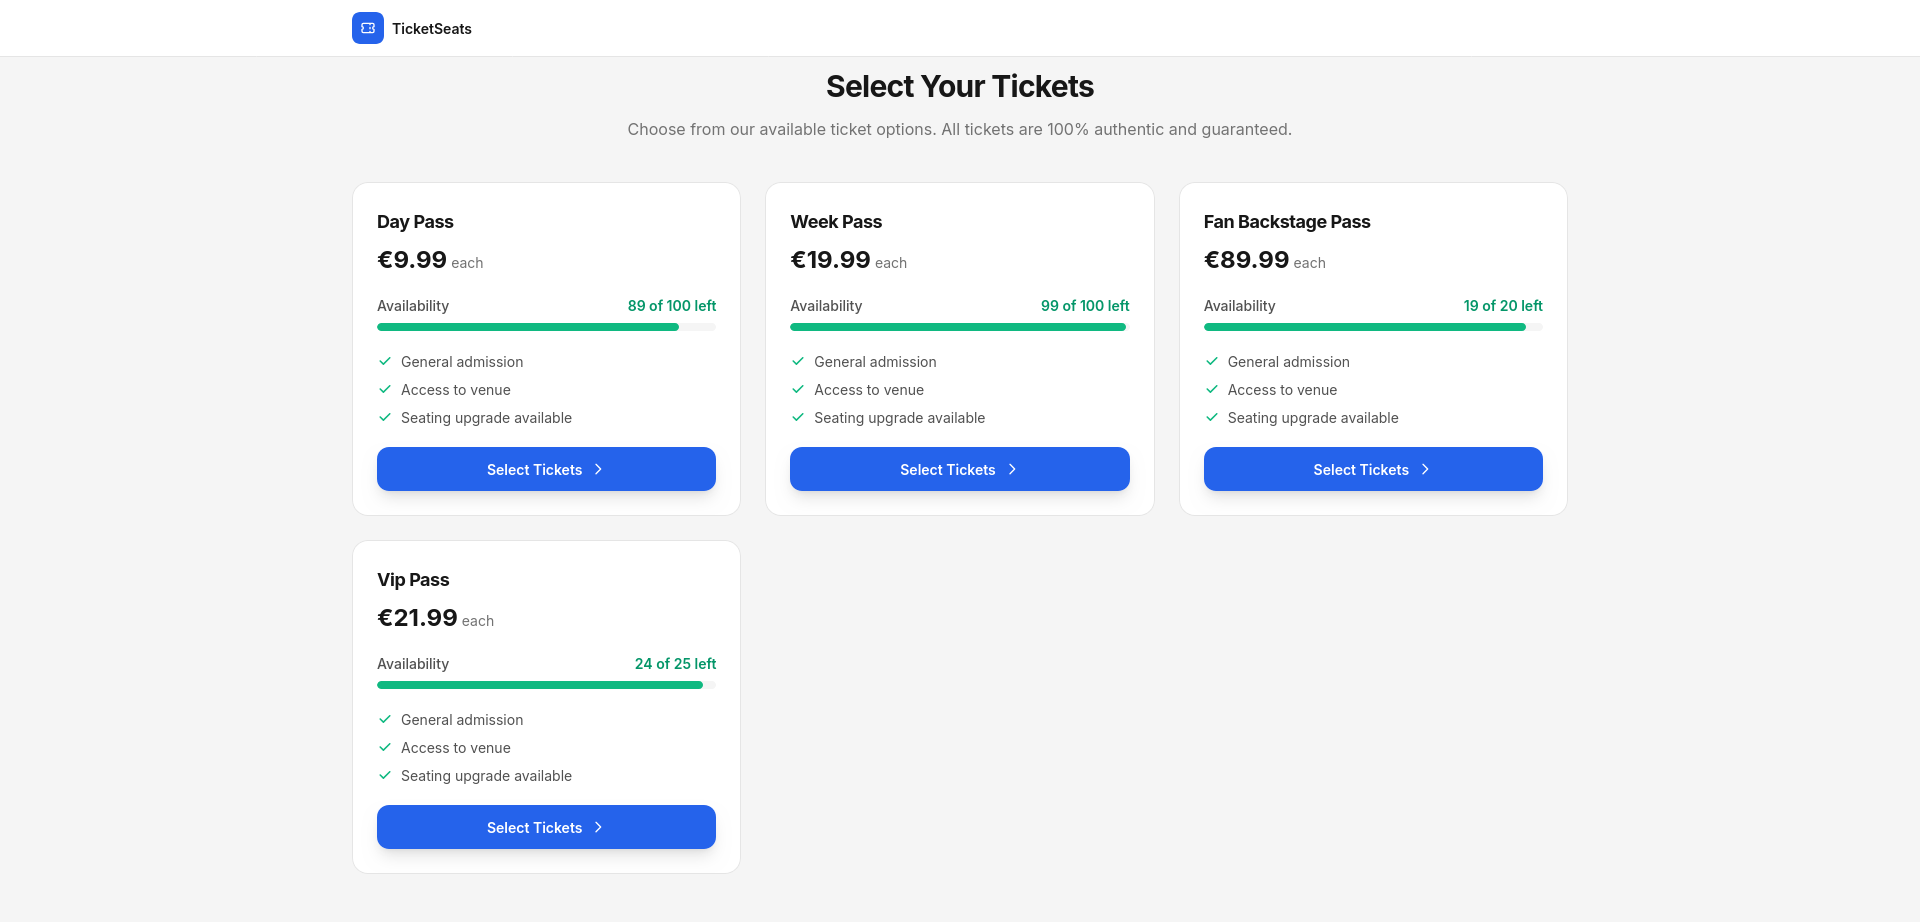
Tiers also unlock the moves that really shift tickets. Early-bird pricing on a block of seats. A VIP tier with the best views. Comps for a specific row. Because each tier is wired to actual seats on the chart, your inventory and your pricing never drift apart. Reserved seating pulls in more per show than blanket general admission anytime where-you-sit is part of the night out.
Step 4: Mix reserved seats with general admission
Not every corner of a venue needs assigned seats. A standing pit, a lawn, a back bar? Those work better as a GA area. Buyers grab a ticket without picking a spot, and you just sell against a capacity cap. The clever bit is mixing both on one seating chart. Assigned rows where the view matters, GA zones where it doesn't.
This is where a real seat-map designer leaves a static image in the dust. Add a GA section with a headcount limit right next to your numbered rows, and the same checkout handles the whole thing. Pick-your-seat for the reserved tiers, grab-a-spot for general admission. One event, one chart, both selling models. See how the two stack up in the guide to selling tickets online.
Step 5: Publish the seat map and prevent overbookings
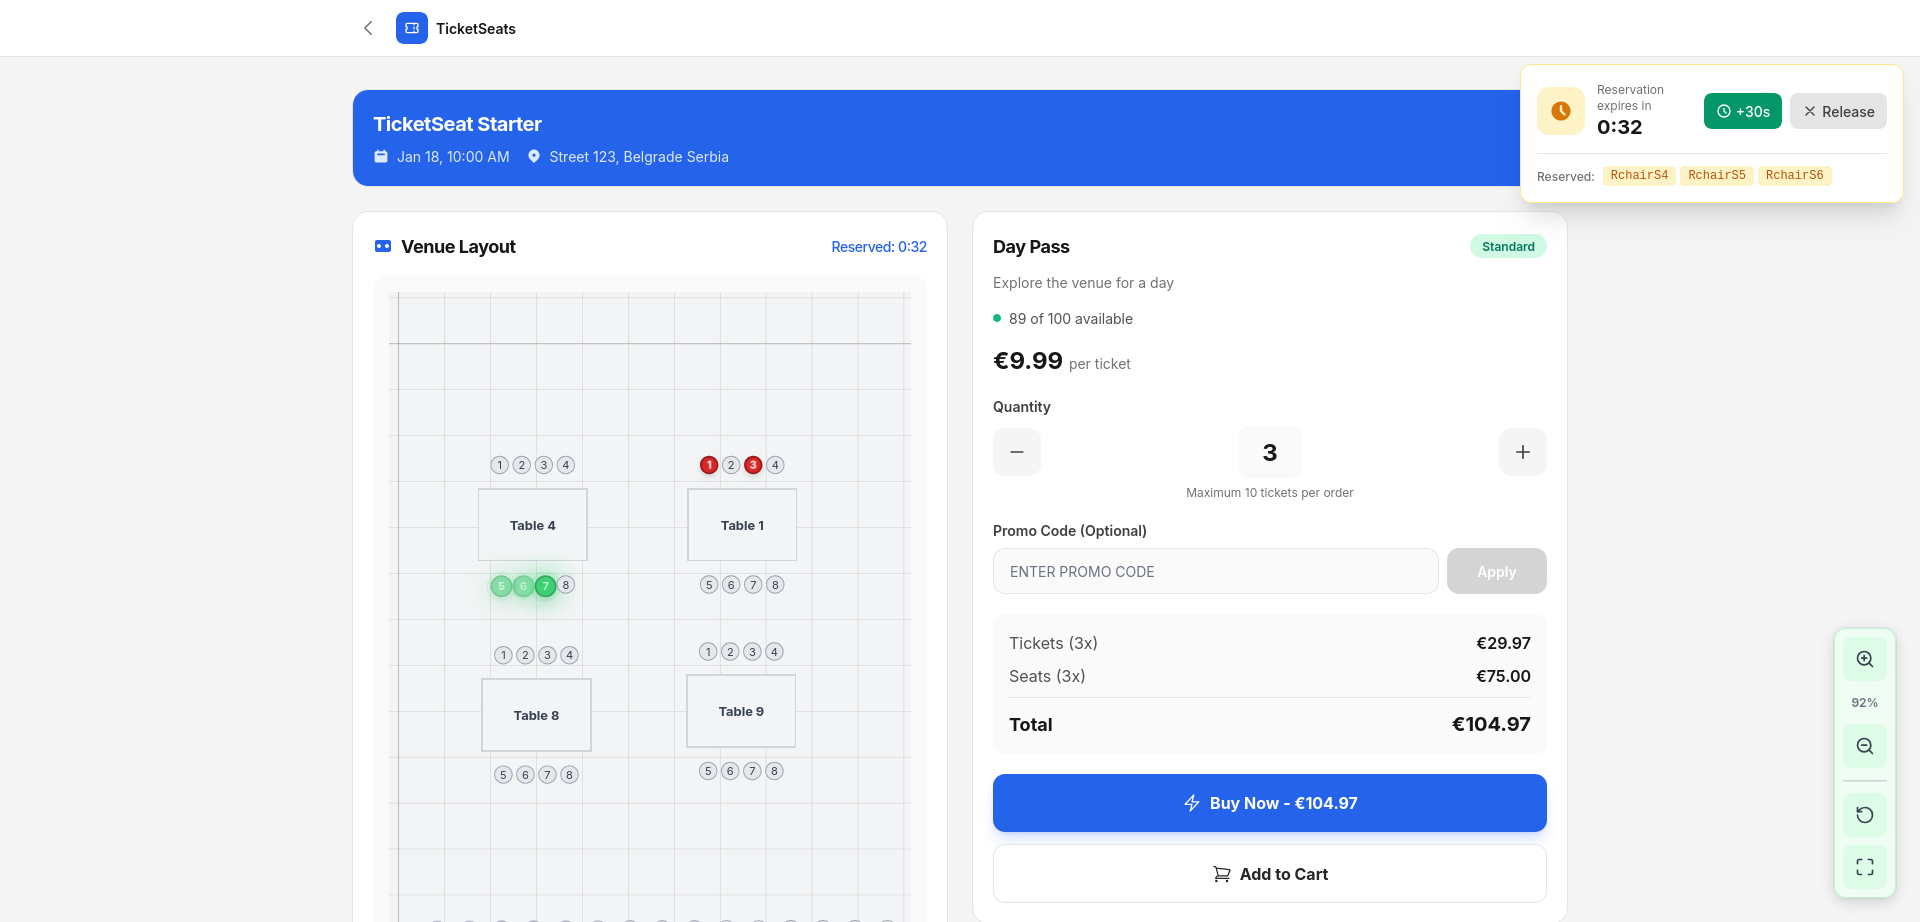
Once the chart looks right, hit publish. Your venue layout turns into a live, interactive seat map that buyers can pan, zoom, and tap on any device. Most ticket sales happen on a phone these days, so the seating chart has to feel good thumb-first on a small screen. A desktop-only map quietly loses you the mobile buyer at the worst possible second.
Here's the part that makes assigned seating trustworthy: locking. The instant a buyer picks a seat, it's held for 60 seconds over a live connection while they check out. If they bail, it releases automatically. Two people can never buy the same seat, so overbooking a section just can't happen. It's prevented by design, not patched up after the fact.
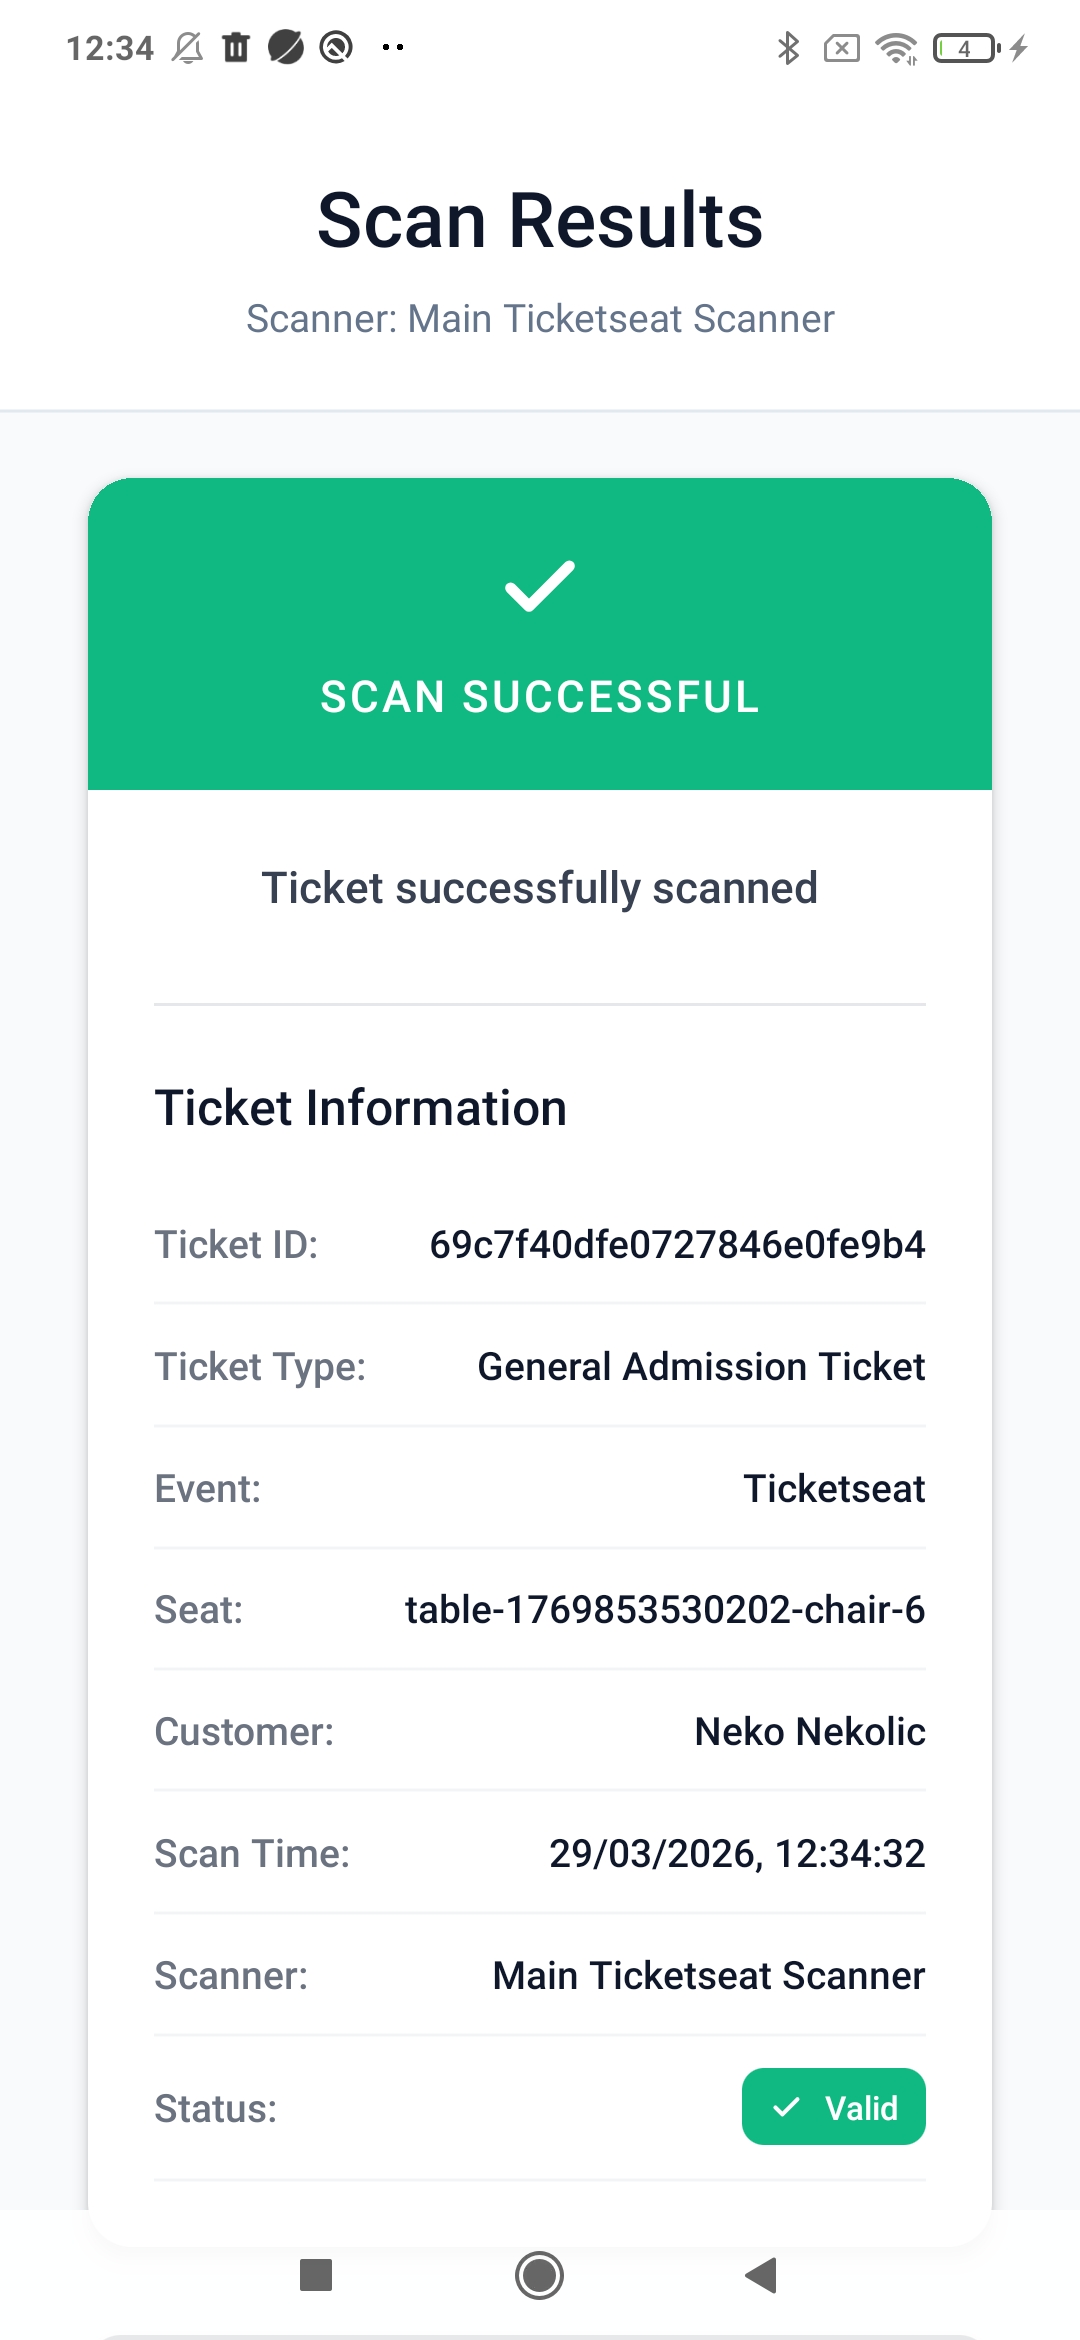
On event day, the loop closes. Every ticket carries a QR code, and the mobile scanner shows the attendee's name, ticket type, and seat number with each scan. Staff send people straight to the right row and seat, no printed chart, no manual lookup. The same seating chart you drew now runs your door.
How long does it take to build a seating chart?
A simple room (a few sections, numbered rows, two or three price tiers) comes together in well under an hour with a drag-and-drop venue designer. Bigger or weirdly shaped venues take a bit longer to map right. But you build the seating chart once and reuse it for every event in that room. No rebuild before each show. Set the layout once, then just open and close dates against it.
Tips for a seating chart that sells
- Match your real signage. Your seat and row labels on the chart should mirror what's printed in the room, or you'll create confusion at the door.
- Lead with sightlines. Group price tiers by how good the view is, not just by distance, so buyers feel the premium is fair.
- Cap your GA zones. Give every general admission area a real capacity limit so it can't oversell.
- Build for mobile. Most buyers pick seats on a phone, so test the seat map on a small screen before you go live.
- Reuse the layout. One accurate venue map serves every future show, so put in the time once.
Frequently asked questions
How do I make a seating chart for my venue?
Open a drag-and-drop seat-map designer, drop your stage, block out your sections, add rows and numbered seats (or tables), then group the seats into price tiers. On Ticketseat you can build a full seating chart in one sitting, no design software needed.
Can I mix reserved seating and general admission?
Yep. Add assigned rows where sightlines matter and a capped GA area where they don't, all on the same chart. Checkout handles pick-your-seat and grab-a-spot tickets together for one event.
How do seating charts prevent double-booking the same seat?
When a buyer picks a seat, it's locked for 60 seconds over a live connection while they check out, then released if they don't finish. Two buyers can never hold the same seat, so overbooking just isn't possible.
Do buyers pick their own seats?
They do. A published seat map is interactive. Buyers pan, zoom, and tap to choose their exact seats on your real venue layout, on any device, instead of getting stuck with a random assignment.
Can I reuse a seating chart for multiple events?
You build the venue layout once and run every event in that room against it. No rebuild before each show. Set the seating chart, then schedule dates on top of it.
Build your venue's seating chart today
So that's the whole flow. Map the venue, add your rows, seats, and tables, set the price tiers, mix in some GA where it fits, and publish an interactive seat map that locks seats in real time and runs your door on event day. Build your seating chart once on Ticketseat, sell assigned seats with zero overbookings, and give buyers a pick-your-seat experience that actually converts on mobile. Compare reserved seating and interactive seat maps, or see how the platform holds up against other ticketing tools.
Ticketseat Team
Sharing insights about event ticketing, platform updates, and industry best practices.
Related Articles
View all
7 Best Eventbrite Alternatives in 2026 (Lower Fees, Reserved Seating)
Looking for the best Eventbrite alternatives in 2026? Here are 7 ticketing platforms compared on fees, payouts, seating and support, so you keep more of every ticket sale.

Interactive Seat Maps: Boost Conversions 40%
Interactive seat maps cut checkout friction, add real scarcity, and build buyer confidence. Those are the mechanics that can lift ticket conversions by up to 40%.
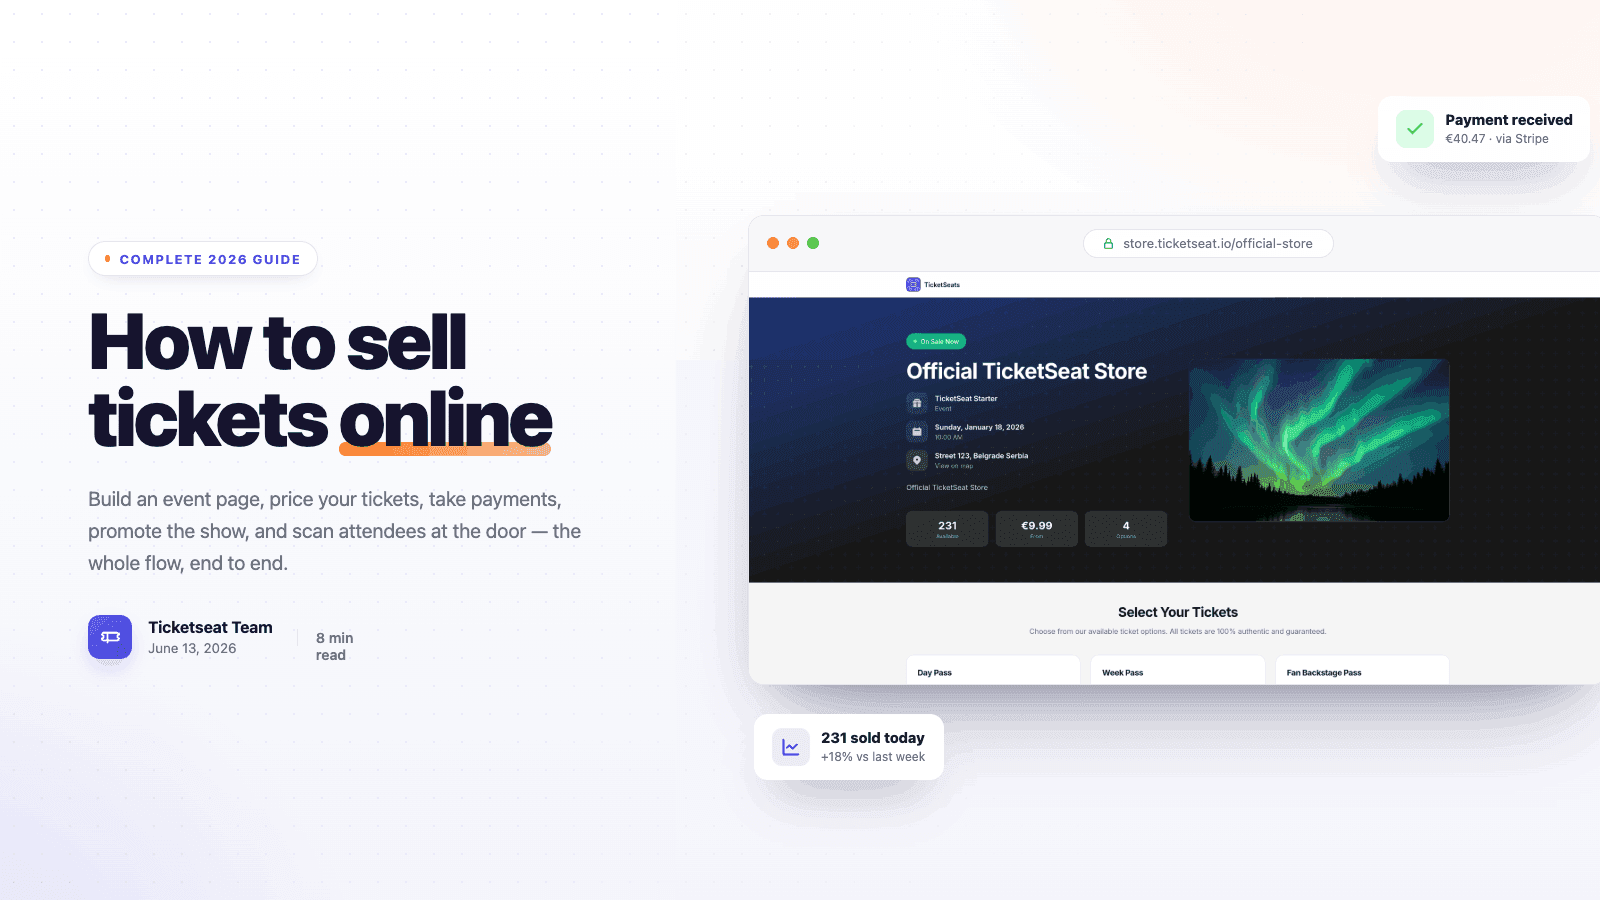
How to Sell Tickets Online: Complete 2026 Guide
A step-by-step 2026 guide to selling tickets online — build an event page, price your tickets, take payments, promote the show, and scan attendees at the door.
Compare Ticketseat
See how Ticketseat stacks up against other ticketing platforms.
Ready to Transform Your Event Ticketing?
Join thousands of event organizers who trust Ticketseat for their ticketing needs.